
Last updated November 2, 2026
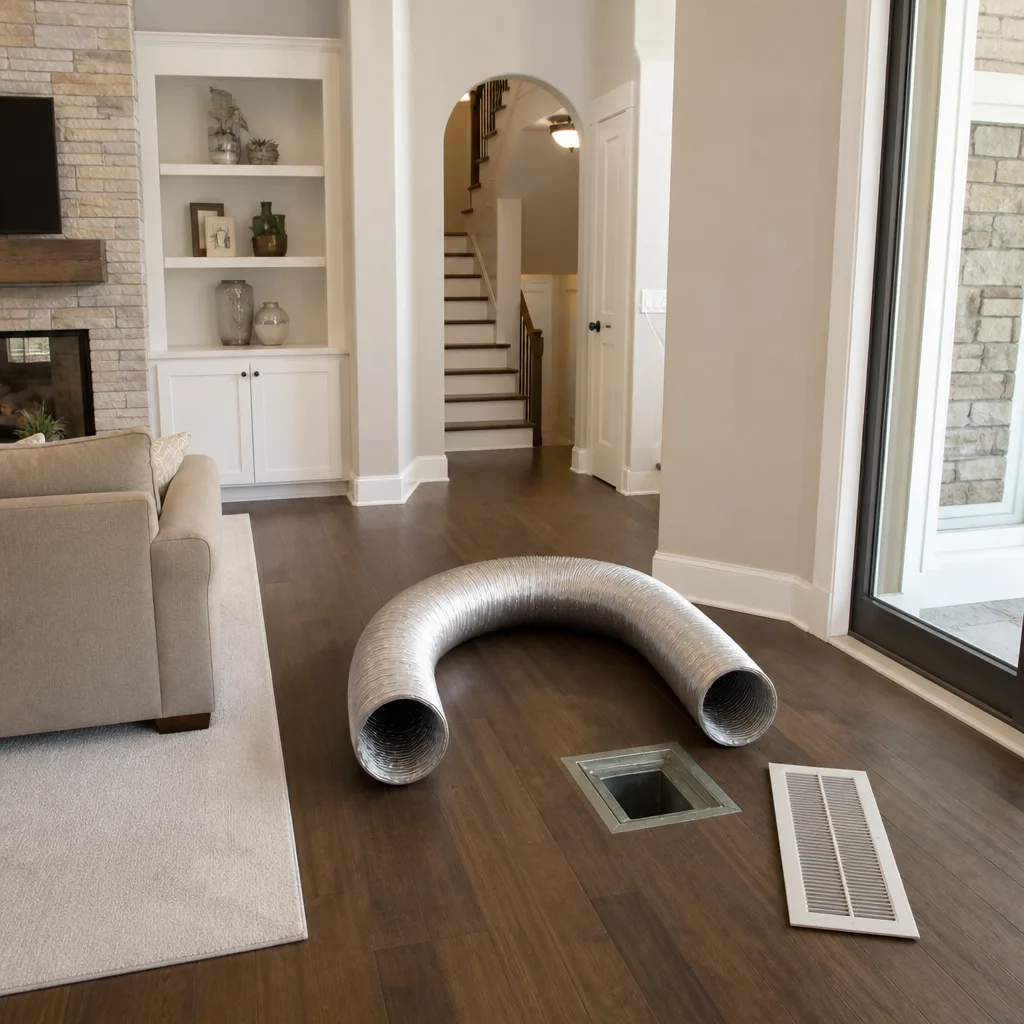 Whole-home duct cleaning
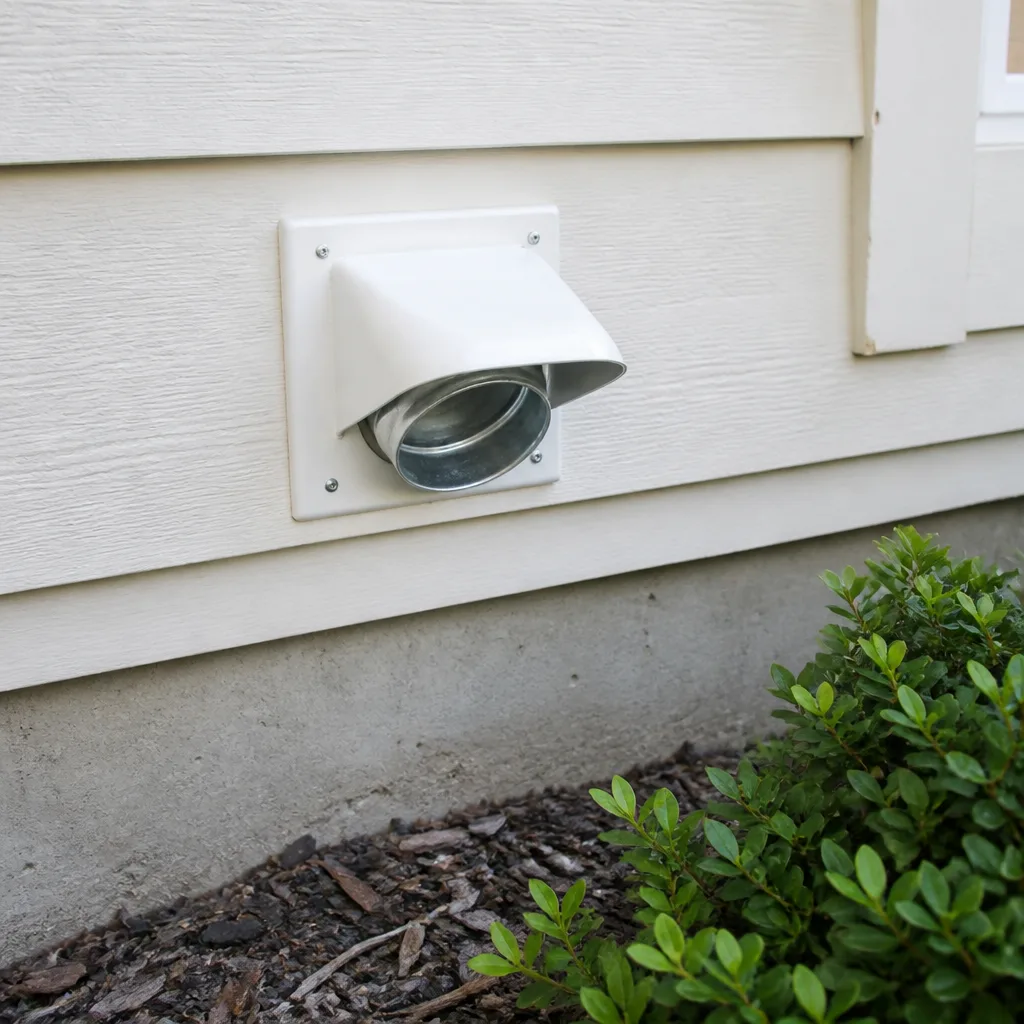 Dryer vent cleaning
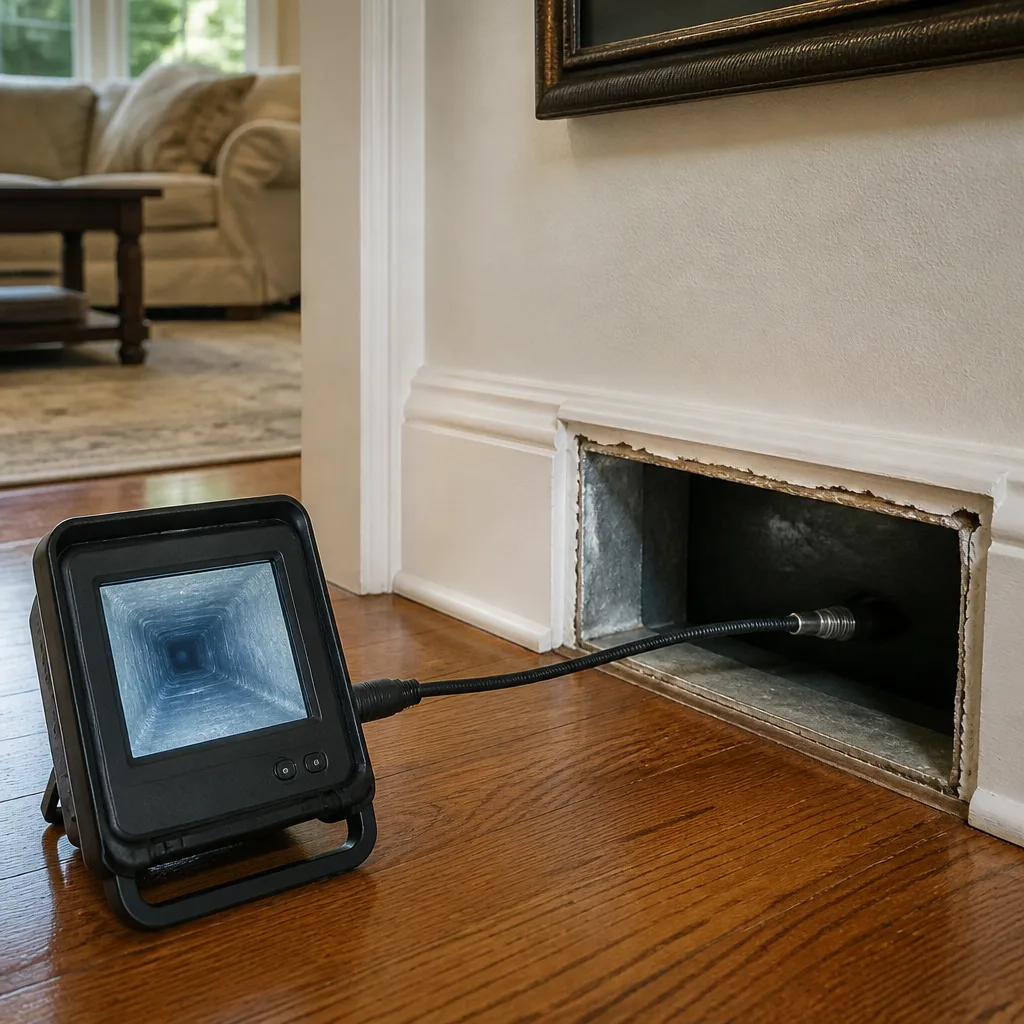 Camera inspection
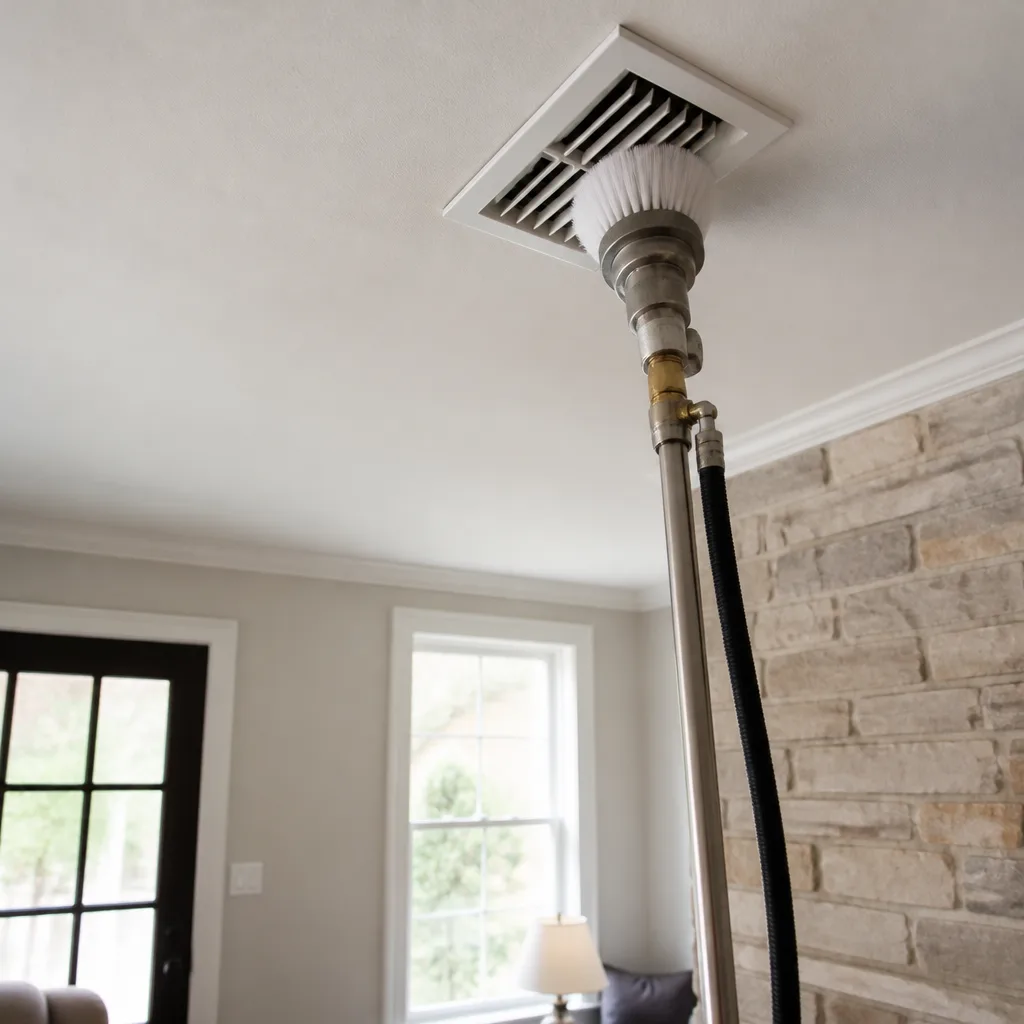 Sanitizing & deodorizing
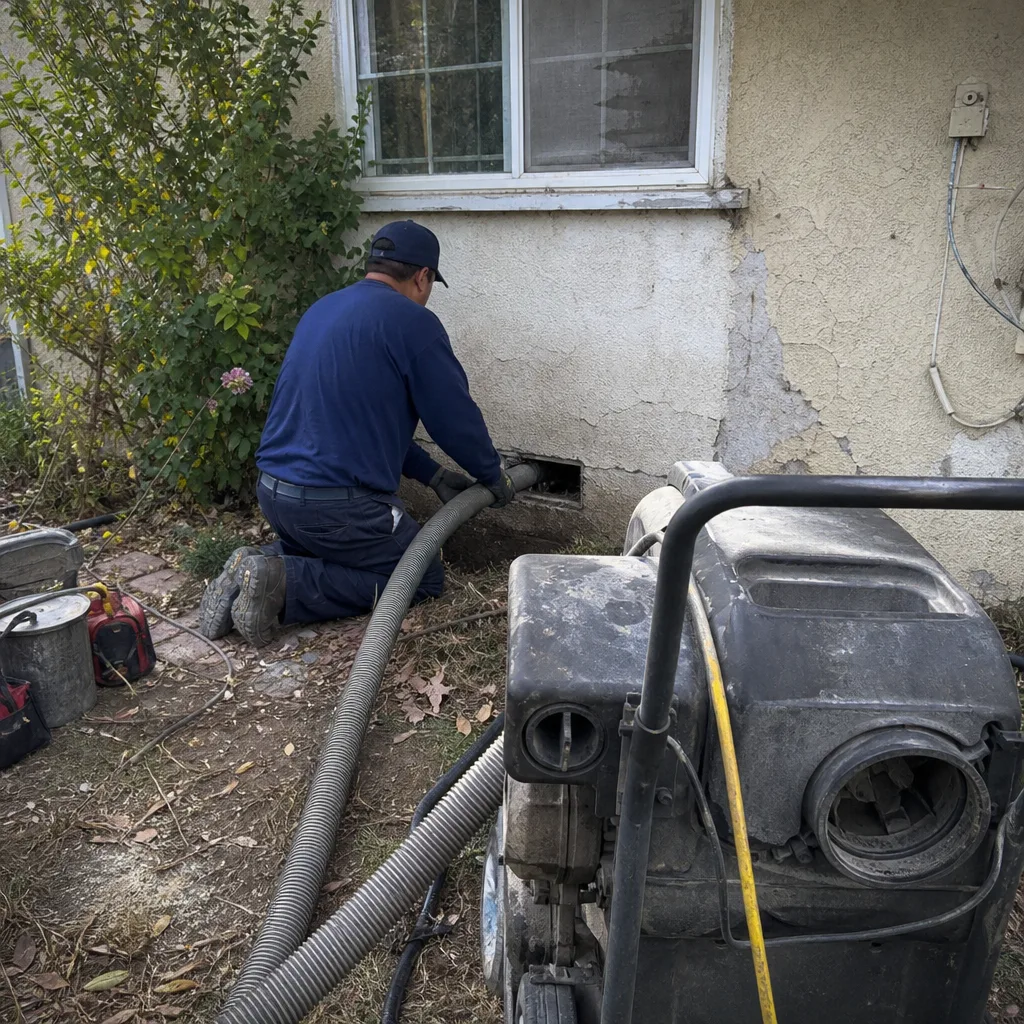
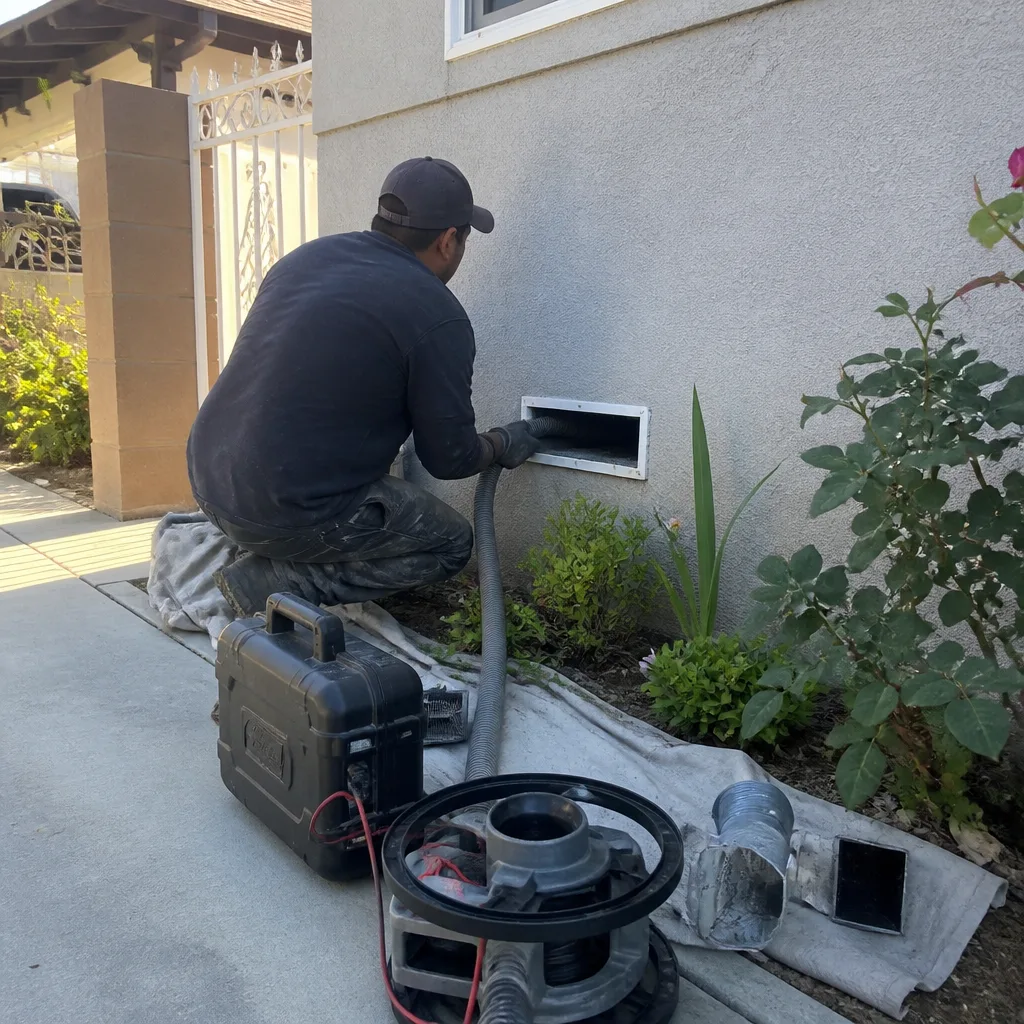
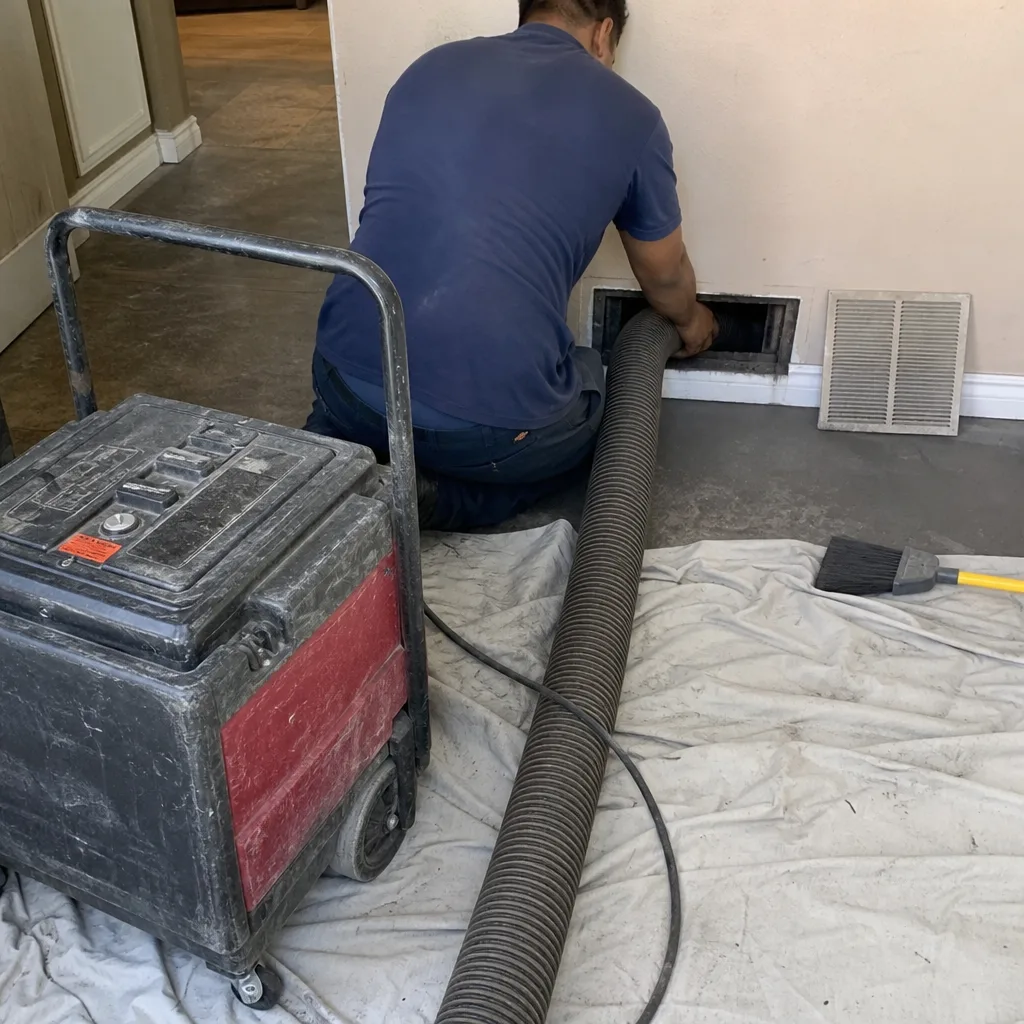
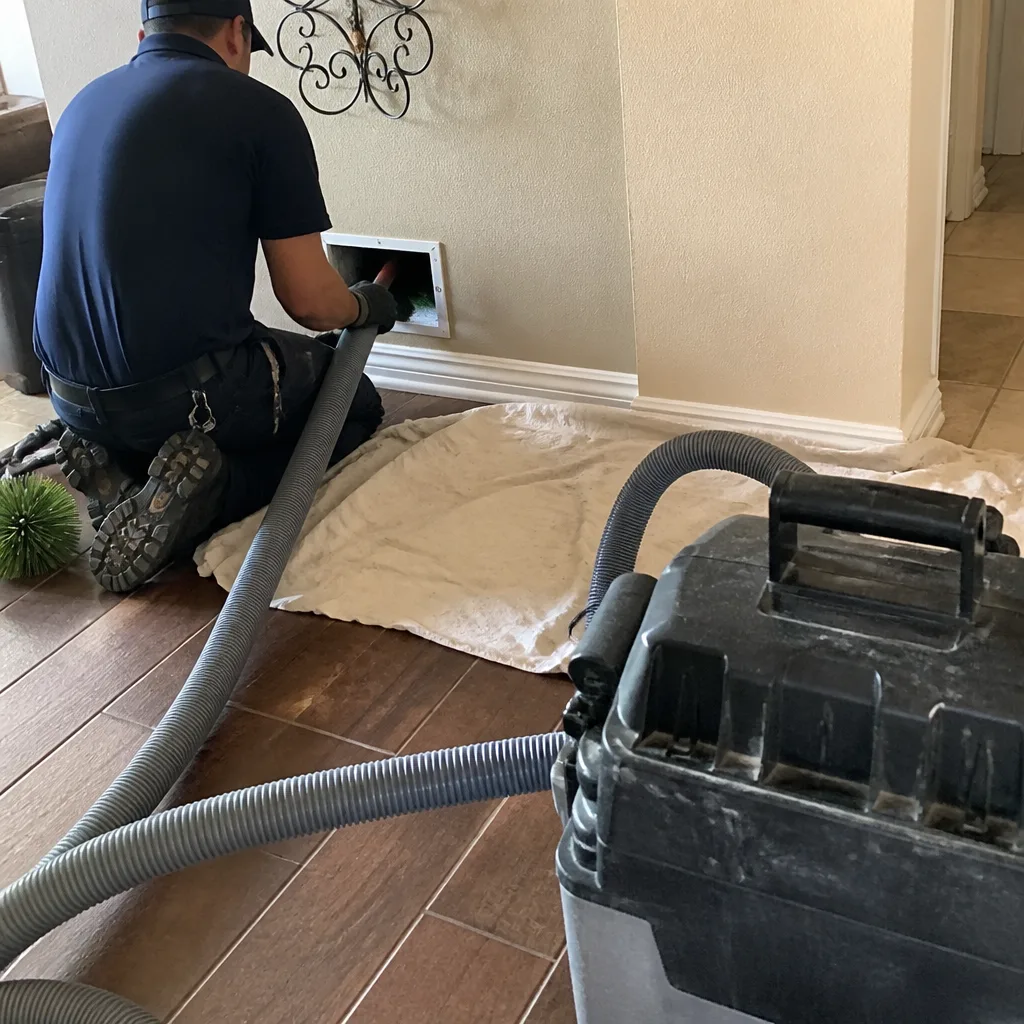
Whole-system duct and dryer vent check with before-and-after photos - you see exactly what came out of your vents
That "$99 whole-house special" is a bait ad - the real number appears once they are in your hallway, or the "clean" is a shop-vac at the register. We photograph the inside of your ducts before and after instead.
Air Duct Cleaning Troubleshooting: Common Problems and How to Fix Them
Here’s a counterintuitive fact we’ve learned from years of duct work in Reseda: most “duct problems” aren’t duct problems at all. Homeowners call us convinced their ductwork needs cleaning when the real culprit is a collapsed damper, a leaking plenum, or a condensate pan that hasn’t drained properly since the last heat wave. This guide exists to help you figure out whether the issue is actually in your ducts, or somewhere else in your HVAC system entirely, before you spend money on a service that won’t fix what’s wrong. By the time you finish reading, you’ll know how to trace symptoms to their real source, what you can safely check yourself, and exactly when the equipment in the ducts is the thing that needs attention.
Styles & brands we work with
- Whole-home duct cleaning
- Dryer vent cleaning
- Camera inspection
- Sanitizing & deodorizing
Quick Answer
Duct cleaning troubleshooting starts with pinpointing whether your symptom, like musty odor, weak airflow, or visible dust, originates inside the ductwork itself or in a connected HVAC component such as the evaporator coil, condensate drain, or a disconnected duct joint. Cleaning only solves problems caused by actual debris accumulation inside ducts. Leaks, drainage failures, and balancing issues require sealing, repair, or adjustment instead, and paying for a cleaning when those are the root cause will leave the problem untouched.
Table of Contents
- Musty Odors: Is It the Ducts or the Drain Pan?
- Visible Debris Around Registers: What It Actually Tells You
- Uneven Airflow: Balancing, Dampers, and Duct Leakage
- Allergy Flare-Ups: Tracing Particulate to Its Source
- Increased Dust After a Cleaning: The Containment Question
- How to Spot an Incomplete Duct Cleaning Job
- Slow Dryer Cycles and Lint Buildup: A Separate Fire Risk
- Dirty Ducts vs. Damaged Ducts: When Cleaning Won’t Help
- Common Mistakes to Avoid
- When to Call a Professional
- Frequently Asked Questions
- The Bottom Line
Musty Odors: Is It the Ducts or the Drain Pan?
A musty smell coming from your vents is the single most misdiagnosed symptom in residential HVAC. In our experience across Reseda homes, roughly nine times out of ten, that damp, earthy odor originates at the evaporator coil or the condensate drain pan, not inside the ductwork. The coil sits in a dark, wet environment by design. When the condensate line clogs with algae and sludge, water backs up into the drain pan and stagnates. That stagnant water grows microbial film, and the blower pushes that odor through your entire duct system. Cleaning the ducts themselves will do nothing because the ducts are just the delivery pathway, not the source.
Here’s a simple diagnostic sequence we walk Reseda homeowners through on the phone:
- Locate your indoor air handler. It’s usually in a closet, attic, or garage. If the smell is strongest right at the unit, the problem is almost certainly at the coil or pan, not the ducts.
- Check the condensate line. Look for a PVC pipe running from the air handler to a floor drain or outside. If you see standing water, algae staining, or the line feels warm, it’s likely clogged.
- Inspect the drain pan. If accessible, shine a flashlight into the pan under the coil. Water standing in the pan means the drain is blocked. A dry pan with a smell means the coil itself has biological growth.
- Check one vent. Remove a register cover in a room far from the air handler and smell directly at the duct opening. If the odor is absent or much weaker there, the coil or pan is your source, not the duct run.
If the smell is strongest at the coil, the fix involves cleaning the evaporator coil, flushing the condensate line, and treating the drain pan. If the smell is genuinely strongest at distant registers with the unit itself smelling clean, then you may actually have microbial growth inside the duct walls, typically from excess humidity in the ducts during Reseda’s summer months. At that point, a professional cleaning with proper agitation and HEPA-filtered extraction, using equipment like Nikro air-washing systems, becomes the appropriate next step.
Visible Debris Around Registers: What It Actually Tells You
You see dust streaking the wall above a supply register, or small particles accumulating on the register grille itself. That’s a sign, but not always the sign you think. Dust streaking on walls and ceilings near registers typically indicates duct leakage at the boot connection, where the duct meets the register box, or negative pressure pulling attic or crawlspace air into the living space around gaps in the drywall. The dust isn’t blowing out of your ducts. It’s being pulled from unconditioned spaces across the register edges.
Visible debris inside the register throat, however, is a different signal. When you remove a register cover and see accumulated film, dust bunnies, or construction debris inside the visible portion of the duct, that’s a genuine indicator of buildup that warrants cleaning. Here’s what to look for and what it means:
- Dust streaking above registers on walls: Usually duct leakage or poor sealing at the boot, not dirty ducts. Cleaning won’t fix the streaking. Sealing the boot to the drywall will.
- Debris inside the register throat visible with a flashlight: Genuine duct contamination. What you see at the opening is a fraction of what lines the full run.
- Film on the register grille itself: This accumulates from normal operation and gets sticky in humid months. Wipe it off. If it returns within weeks, you may have excess dust load or bypassing filters.
- Construction debris, drywall dust, or paint chips visible inside ducts: Common in newer Reseda homes or after renovations. This is exactly the material that a professional cleaning with a Rotobrush rotary brush system is designed to remove.
- Insect or rodent droppings near register openings: This points to a breach in the duct run, a disconnected joint, or a torn flex duct, not just a cleaning need. The duct requires inspection and repair, with cleaning as a follow-up.
One critical check before you pay for any duct work: confirm your filter is actually seated correctly. A filter installed backward, wrong-sized, or missing entirely allows unfiltered air to bypass and deposits dust directly into the supply side. In Reseda homes we’ve seen filters installed with the arrow pointing into the return, filters crushed by the filter slot cover, and even a return grille with no filter behind it at all. Fix the filter, then reassess.
Uneven Airflow: Balancing, Dampers, and Duct Leakage
One bedroom stays warm in August, another gets frigid in January, and the hallway is perfectly comfortable. Most homeowners assume the duct to that problem room is clogged. In reality, persistent single-room airflow issues are far more often a balancing or leakage problem. Here’s the distinction that matters: a partially clogged duct reduces airflow gradually over years as debris accumulates. A disconnected or leaking duct changes airflow suddenly, often after a renovation, a pest intrusion, or an HVAC service visit where flex duct got bumped loose.
The first question we ask Reseda homeowners is whether the problem started gradually or suddenly. Gradual decline points toward buildup. Sudden change points toward separation or obstruction. The second question is whether the room has ever been comfortable. If the answer is no, you’re likely dealing with an original design or balancing issue, not debris.
The most common causes of uneven airflow, in order of what we actually find in Reseda homes:
- Damper position. Most homes have manual volume dampers in the duct runs near the main trunk. A damper that’s closed or partially closed, often from a previous owner’s adjustment, starves a room of air. This is a five-minute fix with a screwdriver or wrench.
- Flex duct kinks or compression. Flexible duct runs through attics get kinked by storage, pest activity, or sloppy installation. A kink can reduce airflow by 50% or more while the duct itself stays clean.
- Duct leakage. Gaps at joints, disconnected boots, or torn flex duct allow conditioned air to escape into the attic or crawlspace before it reaches the register. The room starves while your energy bill climbs.
- Undersized duct runs. Some rooms simply were built with ducts too small for the load. This won’t be solved by cleaning. It requires a duct repair or redesign to correct properly.
- Actual debris accumulation. This is the fifth most common cause we find. Significant buildup takes years and usually affects multiple rooms, not just one. If only one room is affected and the problem started recently, look at dampers, kinks, and leaks first.
Here’s a simple way to check for leakage in an accessible duct run, especially in an attic where you can see the ducts:
- Turn the system on and set the fan to run continuously.
- Go into the attic and walk the duct run to the problem room. Keep your hand near each joint and seam.
- Feel for air escaping. A significant leak will be obvious as a stream of cold or warm air in the unconditioned space.
- Look for visible gaps, separated tape, and detached takeoffs at the main trunk.
- Mark every leak found with painter’s tape for a professional to seal with mastic. Improper tape jobs fail within a season in Reseda’s attic heat.
Duct leakage requires sealing and repair, not cleaning. A professional with duct repair capability can seal joints with mastic, reconnect separated boots, and replace torn flex runs. Our company does this as a core service alongside cleaning, which means if we find a leak during a cleaning diagnostic, we’re equipped to fix it in the same visit rather than referring you elsewhere.
Allergy Flare-Ups: Tracing Particulate to Its Source
Your allergies worsen specifically when the system runs, and you’re convinced the ducts are blowing allergens into every room. There’s some truth to that instinct, but the full picture is more useful. Airborne allergens in a forced-air home come from multiple sources, and knowing which one you’re dealing with determines whether duct cleaning is the right intervention.
The duct system does accumulate allergen-laden dust: pollen, pet dander, dust mite byproducts, and mold spores that settle in the duct walls when the system is off and become re-entrained when the blower starts. But the ducts are only one reservoir. Others include the filter itself (especially if it’s a cheap fiberglass panel that’s been in place for six months), the evaporator coil (a wet surface that traps and then re-releases biological particles), and the return air pathways that pull air from dusty attics or garages through gaps in the return plenum.
What to check, in sequence, if allergens spike when the system turns on:
- Confirm the filter is actually filtering. Check the MERV rating. Basic fiberglass filters are rated MERV 1-4 and primarily protect the equipment, not your air. A pleated filter at MERV 8-11 captures significantly more allergens. If you’re using a low-MERV filter, upgrading is the single highest-impact change for allergy symptoms, and it costs under $20.
- Inspect the filter fit. Gaps around the filter frame allow unfiltered air to bypass entirely. The filter should seat snugly in its slot with no visible gaps.
- Look at the return drop. In Reseda homes with the air handler in the garage or attic, the return plenum often has unsealed seams. Air gets pulled from the unconditioned space directly into the return, bypassing the filter. Sealing these with mastic or HVAC foil tape eliminates a major allergen pathway.
- Assess the coil condition. If the evaporator coil is matted with dust or biological film, every pass of air over it picks up allergens. Coil cleaning is a separate service from duct cleaning, but a competent company identifies it during diagnostics.
- Evaluate the ducts themselves. If the previous four items check out and allergens still spike with system operation, the ducts are likely a significant reservoir. A professional cleaning with HEPA-filtered extraction, using systems like Nikro vacuums under negative pressure, removes the accumulated allergen load from duct walls.
For homeowners looking to sustain cleaner air after a duct cleaning, we work with Honeywell and Aprilaire filtration and humidity products. A properly sized media cabinet with a MERV 11 or higher filter captures allergens continuously, and in Reseda’s dry-summer climate, managing humidity with an Aprilaire unit prevents the conditions that let dust mites and mold thrive. Professional air duct cleaning in Reseda removes what’s already in the system, but ongoing filtration is what keeps it from re-accumulating as quickly.
Increased Dust After a Cleaning: The Containment Question
We hear this from Reseda homeowners more often than you’d expect: they paid for duct cleaning, and within a week their furniture has more dust than before the service. The instinct is to assume the cleaning failed, and sometimes that’s correct. But more often, the dust increase after a cleaning reveals how the previous technician handled containment, or didn’t.
A properly executed duct cleaning operates under negative pressure. The entire system is placed under a vacuum that pulls air from inside the ducts through a HEPA-filtered extraction unit before it’s exhausted. This prevents dislodged debris from escaping through registers into the living space. When a cleaning is done without proper containment, either with no negative pressure or with handheld vacuums that recirculate particles, the agitation kicks dust off the duct walls and the blower simply distributes it through the home. The result is exactly what you’d expect: more visible dust on surfaces for weeks.
Here’s what increased post-cleaning dust typically indicates, and what it doesn’t:
- No negative pressure equipment was used. This is the number one cause. Without a HEPA-filtered vacuum pulling the system into negative pressure, loosened dust goes somewhere, and that somewhere is your living room.
- The blower wasn’t run properly during the cleaning. Agitation tools knock debris loose, but the extraction vacuum has to be running simultaneously to capture it. A cleaning done in stages without continuous extraction re-deposits dust downstream.
- The return side was neglected. Some technicians clean only the supply ducts and skip the return runs. The return side is where the majority of debris accumulates from air being pulled toward the filter. Skip the returns, and every future cycle re-distributes that debris.
- Registers and boots weren’t cleaned. Debris in the register boot gets left behind, then the first few system cycles push it into the room.
- It’s actually residual construction or renovation dust. If the cleaning was done immediately after a remodel, new dust generated after the cleaning naturally accumulates. This isn’t a cleaning failure, just timing.
This is where equipment matters. Our company runs Rotobrush rotary brush systems paired with HEPA-filtered negative air machines, and we use Abatement Technologies containment equipment to create the negative pressure environment that prevents cross-contamination. That’s not a buzzword. It’s the difference between dust staying in the extraction unit and dust settling on your kitchen counters. If a previous cleaning left you with more dust, ask the next company specifically how they maintain negative pressure during the job and whether their extraction is HEPA-filtered. The answers tell you everything.
How to Spot an Incomplete Duct Cleaning Job
You paid for a cleaning and you want to know if the work was actually done. This is a fair question, and in an industry with low barriers to entry, it’s one every homeowner should know how to answer. The signs of an incomplete job are visible if you know where to look.
Before any cleaning, a competent company documents baseline conditions. That means photos, sometimes video, of the interior of main trunk lines and representative branch runs before work begins, and the same views after. If a company can’t show you before-and-after documentation, that’s a red flag on its own. Here’s what else to check after the crew leaves:
- Remove a register cover and look at the boot edge. A proper cleaning includes removing and cleaning each register and wiping down the boot connection where the duct meets the register box. If there’s still visible debris at the boot edge, the cleaning was shallow.
- Run your finger along the interior duct wall. Reach in as far as you can at a main run (with the system off). A properly cleaned duct feels smooth to the touch. If you pull out a layer of film or dust, the agitation missed the surface.
- Check access points. Professional cleaning requires access holes cut into the main trunk, or access through the plenum and register openings. Every access hole should be properly capped and sealed with metal or access plugs, not duct tape. Look for patches.
- Ask about static pressure. A legitimate professional measures static pressure before and after cleaning. If the technician can’t explain what static pressure is or didn’t measure it, that’s a technician who either lacked equipment or training.
- Review the documentation. You should receive photos or video from inside the ducts before and after. If the company refuses to provide visual proof, or the photos don’t show the actual duct interior, you likely paid for a surface-level blow job.
One of the most telling indicators is whether the company pulled each register and cleaned the boot individually. Some low-priced services leave every cover on except the ones they use for equipment access, which means every branch register remains caked with years of buildup. A complete job takes time. Two technicians for four to six hours on an average Reseda home is reasonable. A crew that’s in and out in 90 minutes didn’t do the work.
If you’ve discovered a previous cleaning was incomplete, the fix is to have the work redone properly. Look for a company that uses Rotobrush rotary brush agitation, runs continuous HEPA-filtered extraction, and documents everything visually. If they list tool names on their service pages and can explain their containment setup, you’re dealing with a professional operation, not a pickup with a shop vac.
Slow Dryer Cycles and Lint Buildup: A Separate Fire Risk
Your dryer takes two cycles to dry a normal load. That’s not a dryer problem. That’s a vent problem. Dryer vents accumulate lint with every cycle, and the buildup is gradual until it isn’t. By the time you notice longer drying times, the vent is already significantly restricted. The issue matters because restricted dryer vents are a leading cause of residential fires. This isn’t a convenience issue with a cost attached. It’s a fire risk with a solution.
Signs your dryer vent needs cleaning, beyond the obvious longer drying time, include:
- The dryer exterior gets unusually hot to the touch while running. Heat that can’t escape through a clogged vent backs up into the appliance.
- A burning smell during operation. Lint trapped near heating elements can smolder. If you smell burning, stop using the dryer immediately and have the vent inspected.
- The outdoor vent flap doesn’t open fully or barely moves while the dryer runs. Compare airflow at the outdoor termination to what it was when the vent was clear.
- Excess lint visible at the outdoor vent opening. Some lint at the termination is normal. A curtain of lint hanging from the vent hood is not.
- The laundry room feels humid or warm during dryer operation. Heat and moisture that can’t exit through a blocked vent leak through dryer seals into the room.
- Dirty ducts accumulate matter on the interior surfaces. The duct walls are intact. The problem is what’s sitting on them. Cleaning solves this.
- Damaged ducts have compromised structure. Separated joints, torn flex, crushed sections, disconnected boots, or holes in sheet metal. The problem is the duct itself. Cleaning doesn’t solve this and actually can worsen leaks if agitation tools catch on existing damage.
- Leaking ducts lose conditioned air. The symptom is uneven room temperatures and higher energy bills, not visible dust. Sealing with mastic or replacing damaged sections is the fix.
- Crushed ducts restrict airflow mechanically. Debris isn’t the restriction. The physical shape of the duct is. Repair or replacement, not cleaning, restores airflow.
- Paying for a cleaning without a diagnostic first. In Reseda, a surprisingly high percentage of quoted cleanings aren’t actually needed, or wouldn’t solve the homeowner’s actual problem. Demand that any company identify what specifically needs cleaning and why before quoting. A company that quotes without looking at your system is guessing.
- Treating a condensate drain smell as a duct problem. The most common misdiagnosis we see. Smell at the air handler means the drain pan or coil, not the ducts. A $75 drain line flush solves what a $500 duct cleaning won’t.
- Ignoring filter upgrades while chasing dust problems. If you’re running a MERV 2 fiberglass filter and complaining about dust, the filter is your first problem, not the ducts. Upgrade to a pleated MERV 8-11 and reassess for a month before considering cleaning.
- Accepting a low quote without equipment questions. The price gap between a real cleaning with Rotobrush and Nikro equipment and a blow-and-go with consumer tools is significant. Ask what equipment the company uses, how they maintain negative pressure, and whether they document before-and-after conditions. If the answers are vague, the quote is probably for a surface job.
- Skipping the dryer vent. Homeowners who keep their HVAC ducts clean often neglect the dryer vent, which poses a far more direct safety threat. If you’re scheduling duct work, have the dryer vent done at the same time. The incremental cost is small, and the fire risk reduction is real.
- Assuming one bad room means dirty ducts. Single-room airflow problems are usually damper, kink, or leak issues. Clean the ducts and the room stays uncomfortable. Check dampers and accessible runs before authorizing any cleaning.
- Not documenting the after-condition. Ask for before-and-after photos from inside the ducts. A company that won’t provide visual proof either didn’t do the work or doesn’t have the equipment to show it. Either way, you should know before you pay.
Dryer vent cleaning in Reseda is a standalone specialty, not an add-on we mention after quoting a duct job. The vent run from the dryer to the exterior in most Reseda homes is short enough that a cleaning takes under an hour with the right rotary brush and extraction setup. We run dedicated dryer vent brushes with reverse airflow to pull lint back toward the vacuum rather than packing it tighter, which happens with unidirectional tools. After cleaning, verified airflow at the exterior termination is the proof the job worked. If your vent run is long, has multiple bends, or terminates on a roof, schedule the cleaning on an annual basis regardless of symptoms.
Dirty Ducts vs. Damaged Ducts: When Cleaning Won’t Help
One of the most important distinctions in this entire guide is the one between dirty ducts and damaged ducts. Dirty ducts need cleaning. Damaged ducts need repair. Cleaning a damaged duct system is like washing a car with a cracked windshield. The car is clean, but the windshield is still cracked.
Here’s how to tell which situation you’re in:
We built our company around the fact that these two services belong together. A thorough air duct repair service in Reseda begins with the same diagnostic approach as cleaning: inspect the visible portions of the system, identify separation points and damage, and determine whether debris cleanup is also warranted. In Reseda’s climate, attic temperatures regularly exceed 130 degrees Fahrenheit in summer, which accelerates the failure of duct tape on old installations. Taped joints fail. Flex duct sags and kinks. Runs that were marginal when installed get worse every season. If your ducts are more than 15 years old and you’re noticing comfort problems, the odds of at least one separated joint somewhere in the attic are high.
After a repair, cleaning is the right follow-up if the system was also contaminated. Think of it as: repair the structure, then clean the interior. That’s the sequence we recommend, and it’s the sequence we use. Some companies can clean. Some can repair. Doing both under the same roof means one diagnostic, one appointment, one company accountable for the result.
Common Mistakes to Avoid
When to Call a Professional
You’ve checked the filter, ruled out the drain pan, looked at the dampers, and the problem persists. That’s the moment to bring in someone who does this every day. Call a professional if you see visible mold growth on duct surfaces (black, green, or white patches, not just dust), if you’ve had a rodent or pest intrusion into the duct system, if airflow problems affect multiple rooms after you’ve checked the easy fixes, or if a recent renovation left heavy construction debris inside the ducts. Also call if you’ve had one cleaning already and the dust problem returned, because that points to containment or technique issues rather than a need for another pass.
We’re one of the companies that handles this work in the Reseda area, and we offer free estimates. Air Duct Cleaning Reseda is our home base, and you can reach us at (855) 353-1653 for a diagnostic conversation before you commit to anything. If it turns out your problem isn’t in the ducts at all, we’ll tell you that on the phone. That’s better for you and better for us.
Frequently Asked Questions
The clearest signs are visible debris accumulation inside the ducts when you remove a register cover, dust streaks or puffs visible at registers when the system starts, allergen flare-ups that coincide specifically with system operation after you’ve ruled out filter issues, and a documented history of renovation or construction before you moved in or since the last cleaning. If none of these apply, you may not need a cleaning. Get a diagnostic before you pay for the service.
Because the odor was never coming from the ducts in the first place. Musty smells in HVAC systems most often originate at the evaporator coil or the condensate drain pan, where standing water breeds microbial growth. Cleaning the ducts removes debris but doesn’t touch the coil or pan. Have a professional clean the coil and flush the condensate line. If the odor persists after that, then investigate duct contamination.
Increased dust after a cleaning typically means the previous technician did not maintain proper negative pressure during the job. Without a HEPA-filtered vacuum pulling the system into containment, loosened debris gets distributed through the living space rather than captured at the extraction unit. Demand documentation and ask specifically about containment before hiring anyone.
Yes, but it’s uncommon. Single-room airflow problems are more often caused by a closed damper, a kinked flex duct run, or a disconnected joint specific to that branch line. Check accessible duct runs and damper positions first. If those are fine, have the specific branch inspected for blockage. The main trunk being dirty enough to starve one room while leaving others comfortable is a rare scenario.
For most Reseda homes, every 3 to 5 years is a reasonable interval. Homes with pets that shed heavily, recent renovation work, or occupants with significant allergies may benefit from every 2 to 3 years. Homes that just received a proper cleaning and have good filtration can go 5 to 7 years. Anyone quoting an annual cleaning schedule is selling service calls, not solving a problem.
The difference is equipment and process. A professional job uses rotary brush agitation like Rotobrush systems, HEPA-filtered extraction under negative pressure, and documentation of before-and-after conditions. A cheap job uses consumer vacuums, skips the return side, doesn’t pull registers, and leaves more debris than it removes. You can’t tell from a quote. You have to ask about tools and containment. Call (855) 353-1653 and ask us those questions directly.
No. Sealing addresses air leakage at joints and connections, stopping conditioned air from escaping into unconditioned spaces. Cleaning addresses debris accumulation inside the ducts. They solve different problems. A leaking duct system may also be dirty, and a dirty system may also leak. A proper diagnostic identifies which issues you actually have, which is why we offer both duct cleaning and duct repair as separate but coordinated services.
The Bottom Line
Duct troubleshooting is diagnosis before action. The symptom you notice, whether it’s odor, dust, uneven temperatures, or allergy flares, points to a source that may or may not be inside your ducts. Musty smells point to the drain pan. Single-room airflow problems point to dampers and leaks. Increased dust after a cleaning points to poor containment. Actual duct cleaning solves actual duct contamination, and nothing else. Before you pay for any duct work in Reseda, check the filter, rule out the connected components, and ask hard questions about equipment and process. If the answer comes back that your ducts genuinely need attention, get it done with commercial-grade tools and documentation. If it comes back that the problem is elsewhere, fix that. That’s what we tell every homeowner who calls us, and it’s what this guide has tried to tell you. For a free estimate or a diagnostic conversation, call Air Duct Cleaning Reseda at (855) 353-1653.
Written by the team at Air Duct Cleaning Reseda, serving Reseda since 2011.
See the difference
 Before
 After
 Before
 After
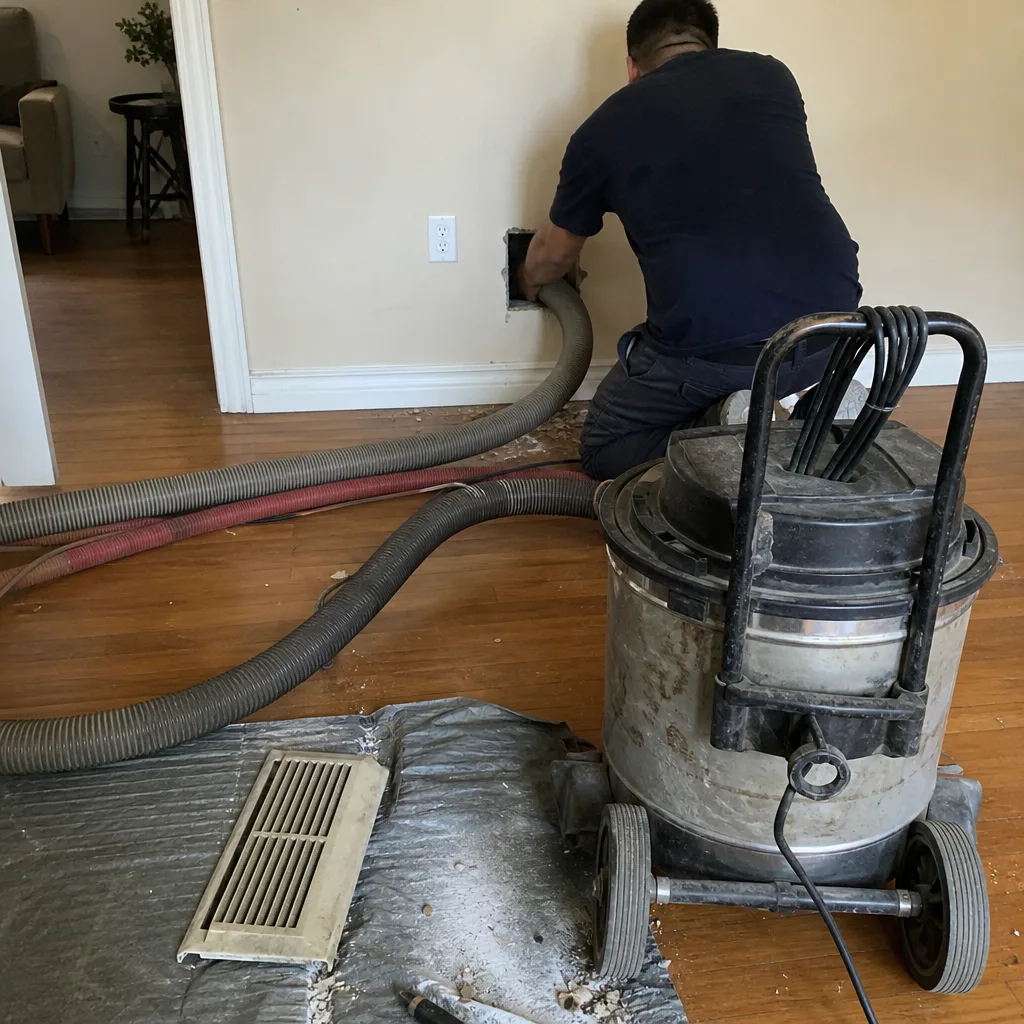 Before
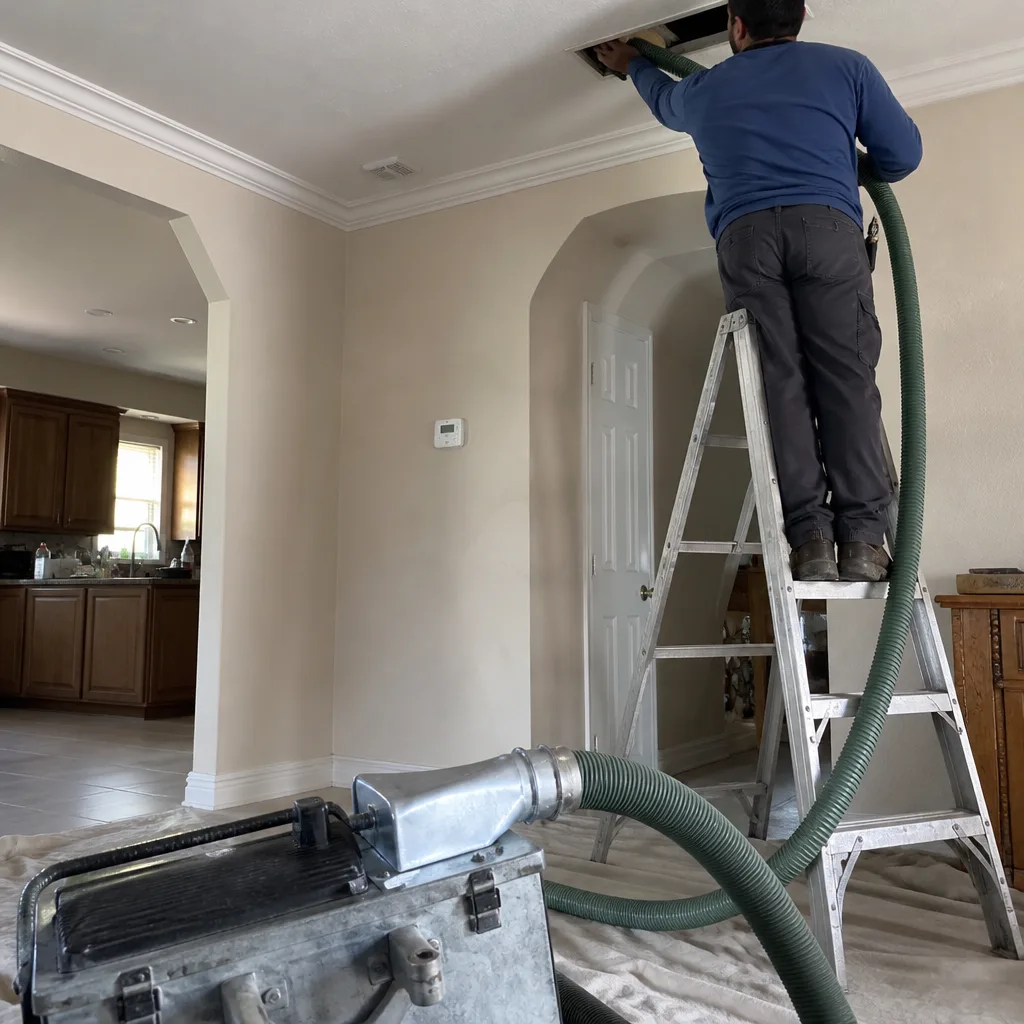 After